Frequently Asked Questions
General
Currently we use mobile phones to author and view AR tours. This is supported on iPhones 11 and newer, with a minimum iOS version of 16.
Android phones with Android 11 or later are also supported, if they have the standard google services. A list of supported devices can be found here: Supported devicesGenerally we recommend to pick Apple tablets. All of their latest models are compatible and work well with our app. For Apple tablets we currently recommend the following apple options: iPad 10th gen (2022 / A14) or later, iPad Mini 6th gen (2021 / A15) or later, iPad Air 4th gen (2020 / A14) or later, iPad Pro 5th gen (2021 / M1) or later.
Alternatively the following android tablets can also be used: Samsung tab S8, Samsung tab S9, Samsung tab A9, OnePlus Pad, Google Pixel Tablet or the Lenovo Yoga Tab 13. It is quite common for devices to miss some features or have compatibility issues with our app. We recommend testing the device before purchasing to ensure it meets your needs. Supported devices
Media
Videos
3D Models
There is no hard limit to the complexity of a 3D models. We recommend to keep the number of vertices below 30.000. Easier is to look at the filesize of the model, generally models below 30MB tend to load well. However it is always useful to check your specific models in the app, as there are many different factors impacting performance and visual looks.
Sharing Tours
Tour Structure
Content Management
AR Studio
Appearance of Media
Behavior and interactivity
Organizations
Integrations
Furthermore, a lot of models on SketchFab are not optimized well. They will have an enormous amount of triangles and vertices. These models will degrade the performance of the app significantly. Thus we add a warning when trying to add such models.
Kiosk Mode
Types of Spots and Pages
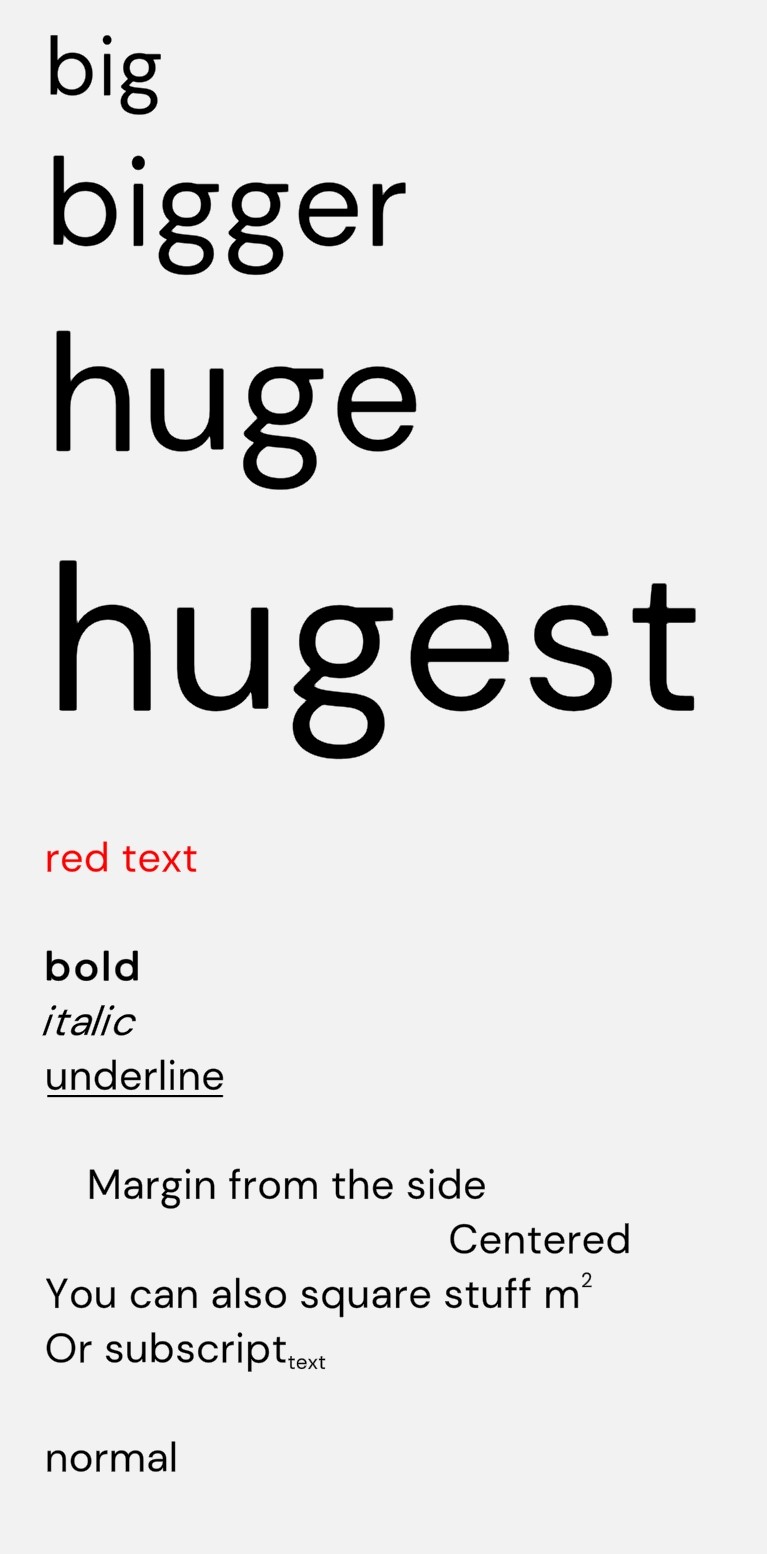
<size=2em>big</size>
<size=3em>bigger</size>
<size=4em>huge</size>
<size=5em>hugest</size>
<color=#ff0000>red text</color>
<b>bold </b>
<i>italic</i>
<u>underline</u>
<margin=1em>Margin from the side</margin>
<align="center">Centered</align>
You can also square stuff m<sup>2</sup>
Or subscript<sub>text</sub> normal
The above options will create the following text.